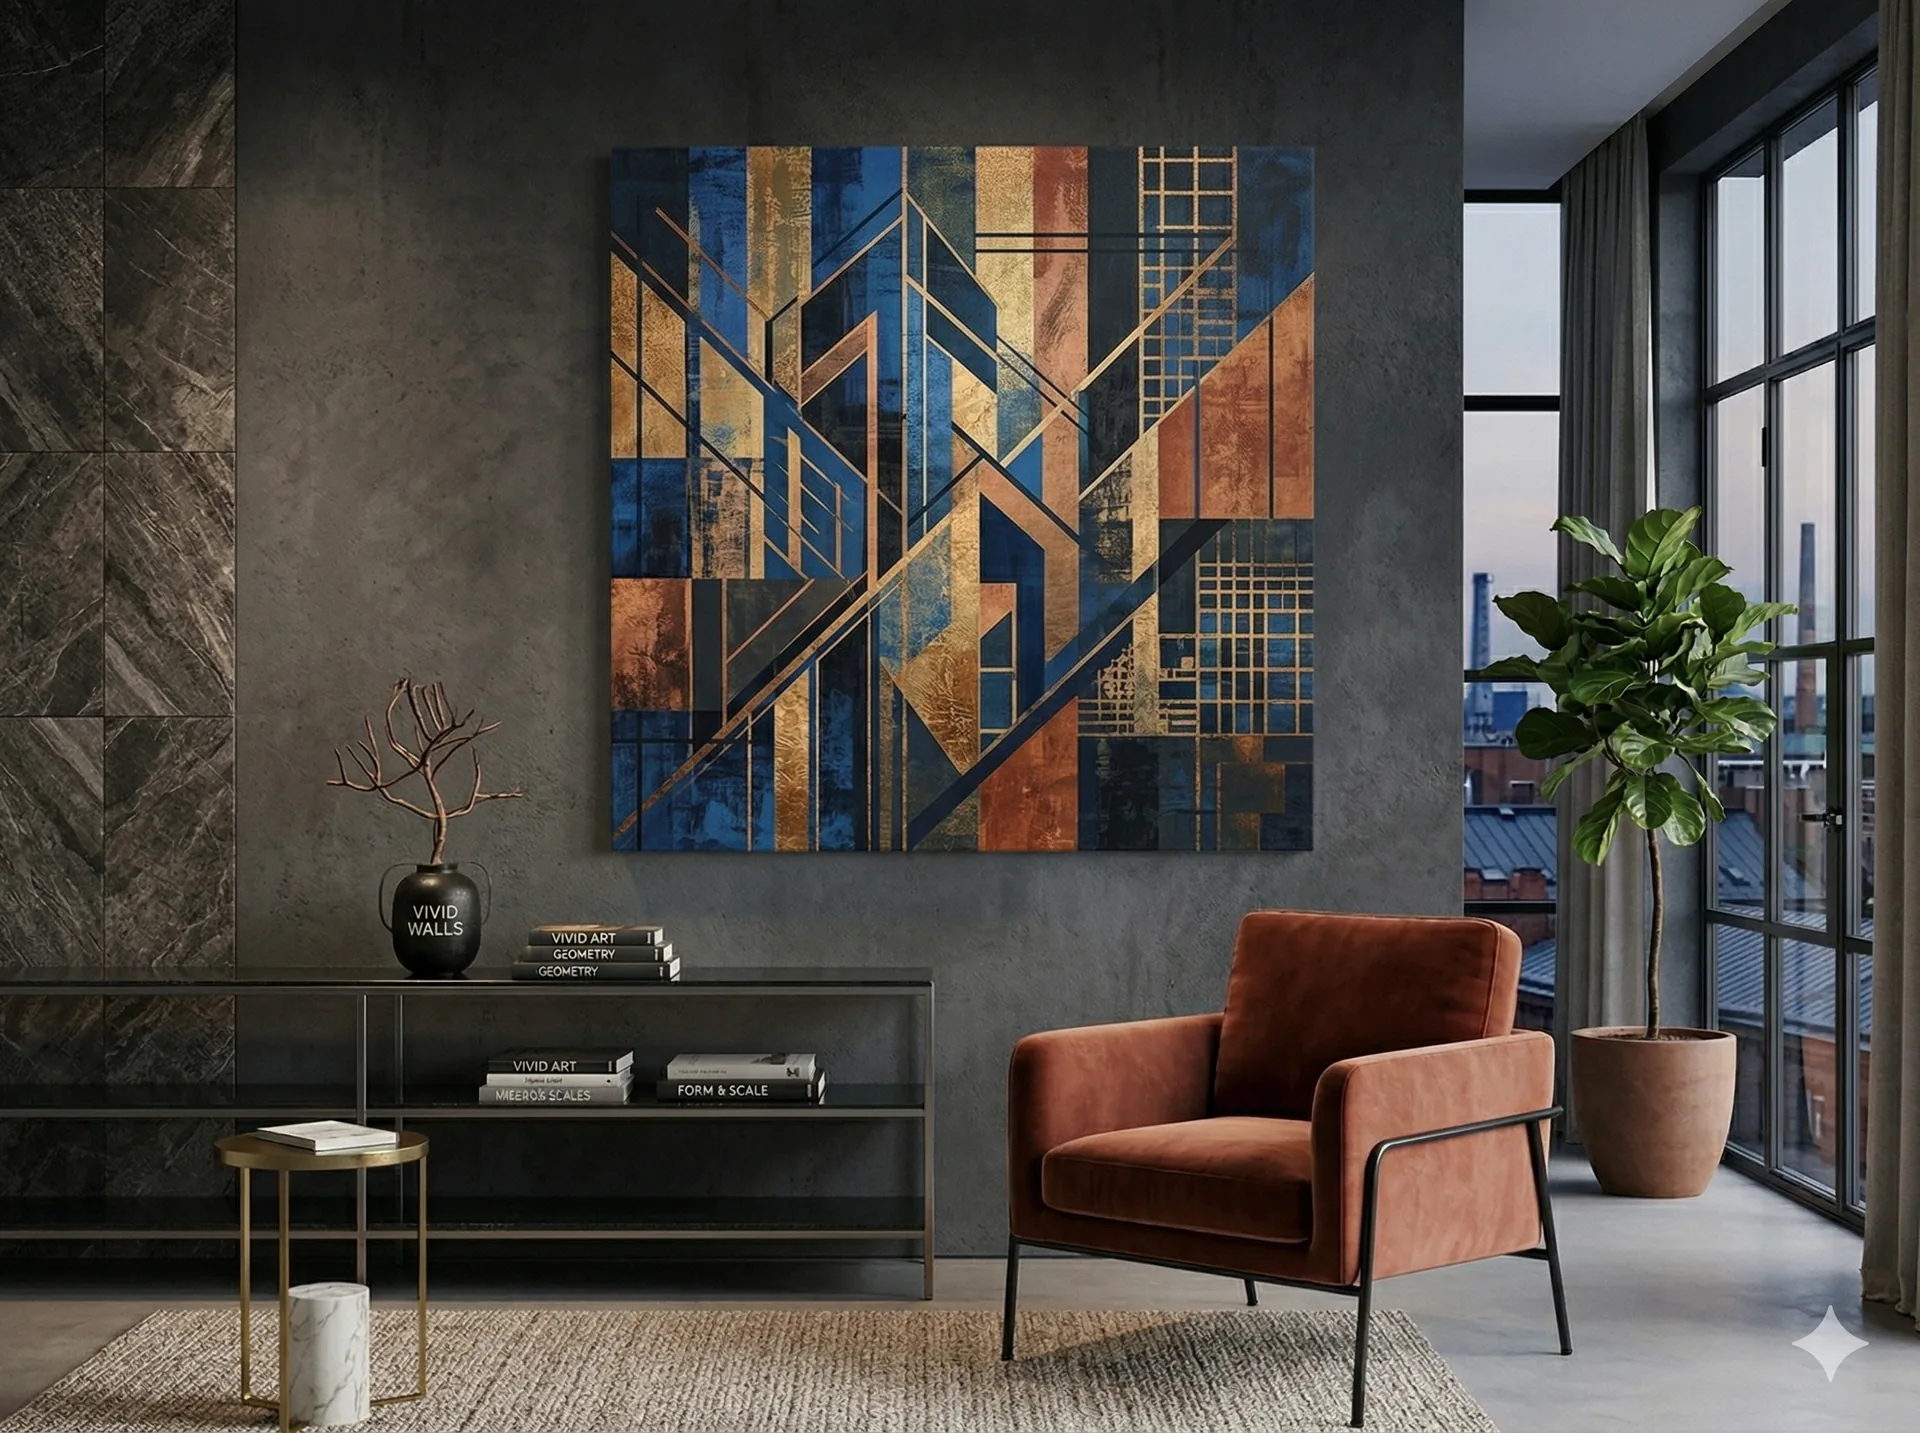
A stretched canvas is one of the easiest artworks to hang — it is light for its size, sits flat against the wall, and forgives small errors better than glazed frames do. The mistakes people actually make are decisions, not workmanship: hanging too high, spacing panels unevenly, or choosing hardware that does not match the wall behind the plaster. This guide covers the height rules professionals use, the right fixing for each wall type, and the methods for multi-panel sets and gallery walls. It assumes you have already chosen dimensions — if not, start with the sizing guide (Canvas print sizing guide), because no hanging technique rescues a mis-sized canvas.
At what height should a canvas print hang?
Hang a canvas so its vertical centre sits 145–152 cm from the floor — the gallery-standard eye level, and the single rule that fixes the most common hanging mistake, which is placing art too high. The calculation: take 150 cm, add half the canvas height, then subtract the distance from the top of the canvas to its hanging point; the result is your fixing height. For an 80 cm tall canvas hung directly on the frame, the fixing sits at roughly 150 + 40 − 2 = 188 cm. Two situations override the rule. Above furniture, the relationship to the furniture wins: leave 15–25 cm between the sofa back or headboard and the canvas’s bottom edge, even if that drops the centre below 150 cm. And in rooms used mostly seated — dining rooms, home cinemas — drop the centre 10–15 cm lower, because eye level there genuinely is lower.
Choosing the right fixing for your wall
The wall material decides the hardware; the canvas rarely does, because a stretched canvas on a spruce/fir frame is light relative to its size. On solid masonry and brick, use a screw in a wall plug — a 5–6 mm plug and screw carries any single canvas we make, including large formats on the №3A Statement profile. On plasterboard, put the screw into a timber stud where one lands conveniently; where it does not, use a spring toggle or self-drilling plasterboard anchor rather than a bare screw, which pulls out of board under sustained load. Simple picture hooks with hardened pins are adequate for small and mid-size canvases up to roughly 60×80 cm on plaster over masonry. Two fixings, set 20–30 cm apart at the same height, are worth the extra minute on any canvas wider than a metre: the canvas cannot tilt, and each fixing carries half the load.
How to hang a single canvas, step by step
Hanging a single canvas takes ten minutes with a tape measure, a pencil, a spirit level, and the right fixing for your wall. The stretcher frame itself is the hanging system — the timber bar can rest directly on screw heads or hooks, no wire needed:
- 1. Mark the centre line. Find the horizontal centre of the wall section or furniture below, and mark a light vertical pencil line.
- 2. Calculate the fixing height. Centre at 145–152 cm from the floor: 150 cm + half the canvas height − the drop from canvas top to the hanging point.
- 3. Fix the hardware. Drill and plug for masonry, anchor or stud-screw for plasterboard. For canvases over 100 cm wide, set two fixings 20–30 cm apart, levelled.
- 4. Hang and level. Rest the top stretcher bar on the fixings, then check with a spirit level across the top edge.
- 5. Step back. Check the height from the room’s main viewing position before making any extra holes.
Hanging multi-panel sets
Multi-panel sets — diptychs, triptychs, and larger groups — hang exactly like single canvases repeated, with one added discipline: the gaps carry the composition, so they must be identical. Use a 3–5 cm gap between panels and keep it constant across the set. Work from the centre outward: hang the middle panel of a triptych first (or establish the centre point between the two panels of a diptych), get its height and level exactly right, then measure each neighbouring fixing from the hung panel rather than from the wall corner, which is rarely plumb. A strip of masking tape run level across the wall at fixing height keeps the whole set true. Because the panels were printed as one continuous image and split in production, alignment errors show as broken lines across the gaps — so level each panel against its neighbour’s top edge, not by eye. Total set width, gaps included, should already satisfy the 60–75% wall rule from the sizing guide (Canvas print sizing guide).
Planning a gallery wall with canvas
A gallery wall rewards planning on paper — literally. Cut kraft-paper or newspaper templates to the size of each canvas, and arrange them on the floor first, then tape them to the wall and live with the layout for a day before drilling. The reliable structural rules: keep spacing consistent at 5–8 cm between pieces (tighter than multi-panel gaps, since the works are independent); anchor the arrangement on one dominant piece placed at the 145–152 cm centre line; and grow the layout outward from that anchor rather than filling a rectangle corner to corner. Mixed sizes work best when edges align in runs — the top of one canvas continuing the bottom line of another — so the group reads as designed rather than accumulated. Canvas is the forgiving medium for gallery walls: frameless edges keep the grid visually calm, and mixed formats in the same material family unify disparate images. Ordering the set together in coordinated sizes makes this easier still (request a quote).
Hanging canvas without drilling
Renters and owners of unforgiving walls can hang small and mid-size canvases without a single hole. Adhesive picture-hanging strips are the standard solution: use at least two pairs on the top stretcher bar, follow the manufacturer’s weight rating with a generous margin, and press each strip to the wall for the full recommended time before hanging. Surface preparation decides success — the wall must be smooth, clean, dry, and painted with sound paint; textured plaster, wallpaper, and fresh paint (under four weeks old) are all poor bases for adhesive systems. Stretched canvas is well suited to this method precisely because the spruce/fir frame is light and the fabric face adds almost nothing, but be honest about limits: large-format pieces, and anything on the deep №3A or №3D profiles whose extra timber and leverage strain adhesives, belong on proper fixings. The dignified alternative for large canvases without drilling is not hanging at all — lean them on a sideboard, shelf, or floor against the wall.
Frequently asked questions
Do canvas prints need a wire on the back?
No. The stretcher frame is the hanging system: the top bar rests directly on screw heads, hooks, or adhesive hangers, which also keeps the canvas flat against the wall. Wire or sawtooth hangers can be added on request, but most installers prefer hanging on the bare frame.
How high should I hang a canvas above a sofa?
Leave 15–25 cm between the top of the sofa back and the bottom edge of the canvas. This usually places the canvas centre near the standard 145–152 cm eye level; where the two rules conflict, the furniture relationship wins — a canvas visually tied to the sofa looks intentional.
Can heavy large-format canvases go on plasterboard?
Yes, with the right anchors. A stretched canvas is light for its size, so two spring toggles or self-drilling plasterboard anchors set 20–30 cm apart will carry even statement formats on the 40×45 mm №3A profile. Screw into a timber stud wherever one lines up with your layout.
How do I keep three panels perfectly level?
Hang the centre panel first at the correct height, then measure every subsequent fixing from the hung panel, not from walls or ceilings, which are rarely true. A level line of masking tape across the wall at fixing height, plus a constant 3–5 cm gap, keeps the set aligned.
Should canvas prints hang in bathrooms or kitchens?
Prefer dry, ventilated placement. Our canvases are printed with eco-solvent inks for interior use, and while cotton and polyester fabrics on spruce frames tolerate normal room conditions well, sustained steam and cooking residue shorten the life of any textile artwork — see the care guide (Canvas care guide).